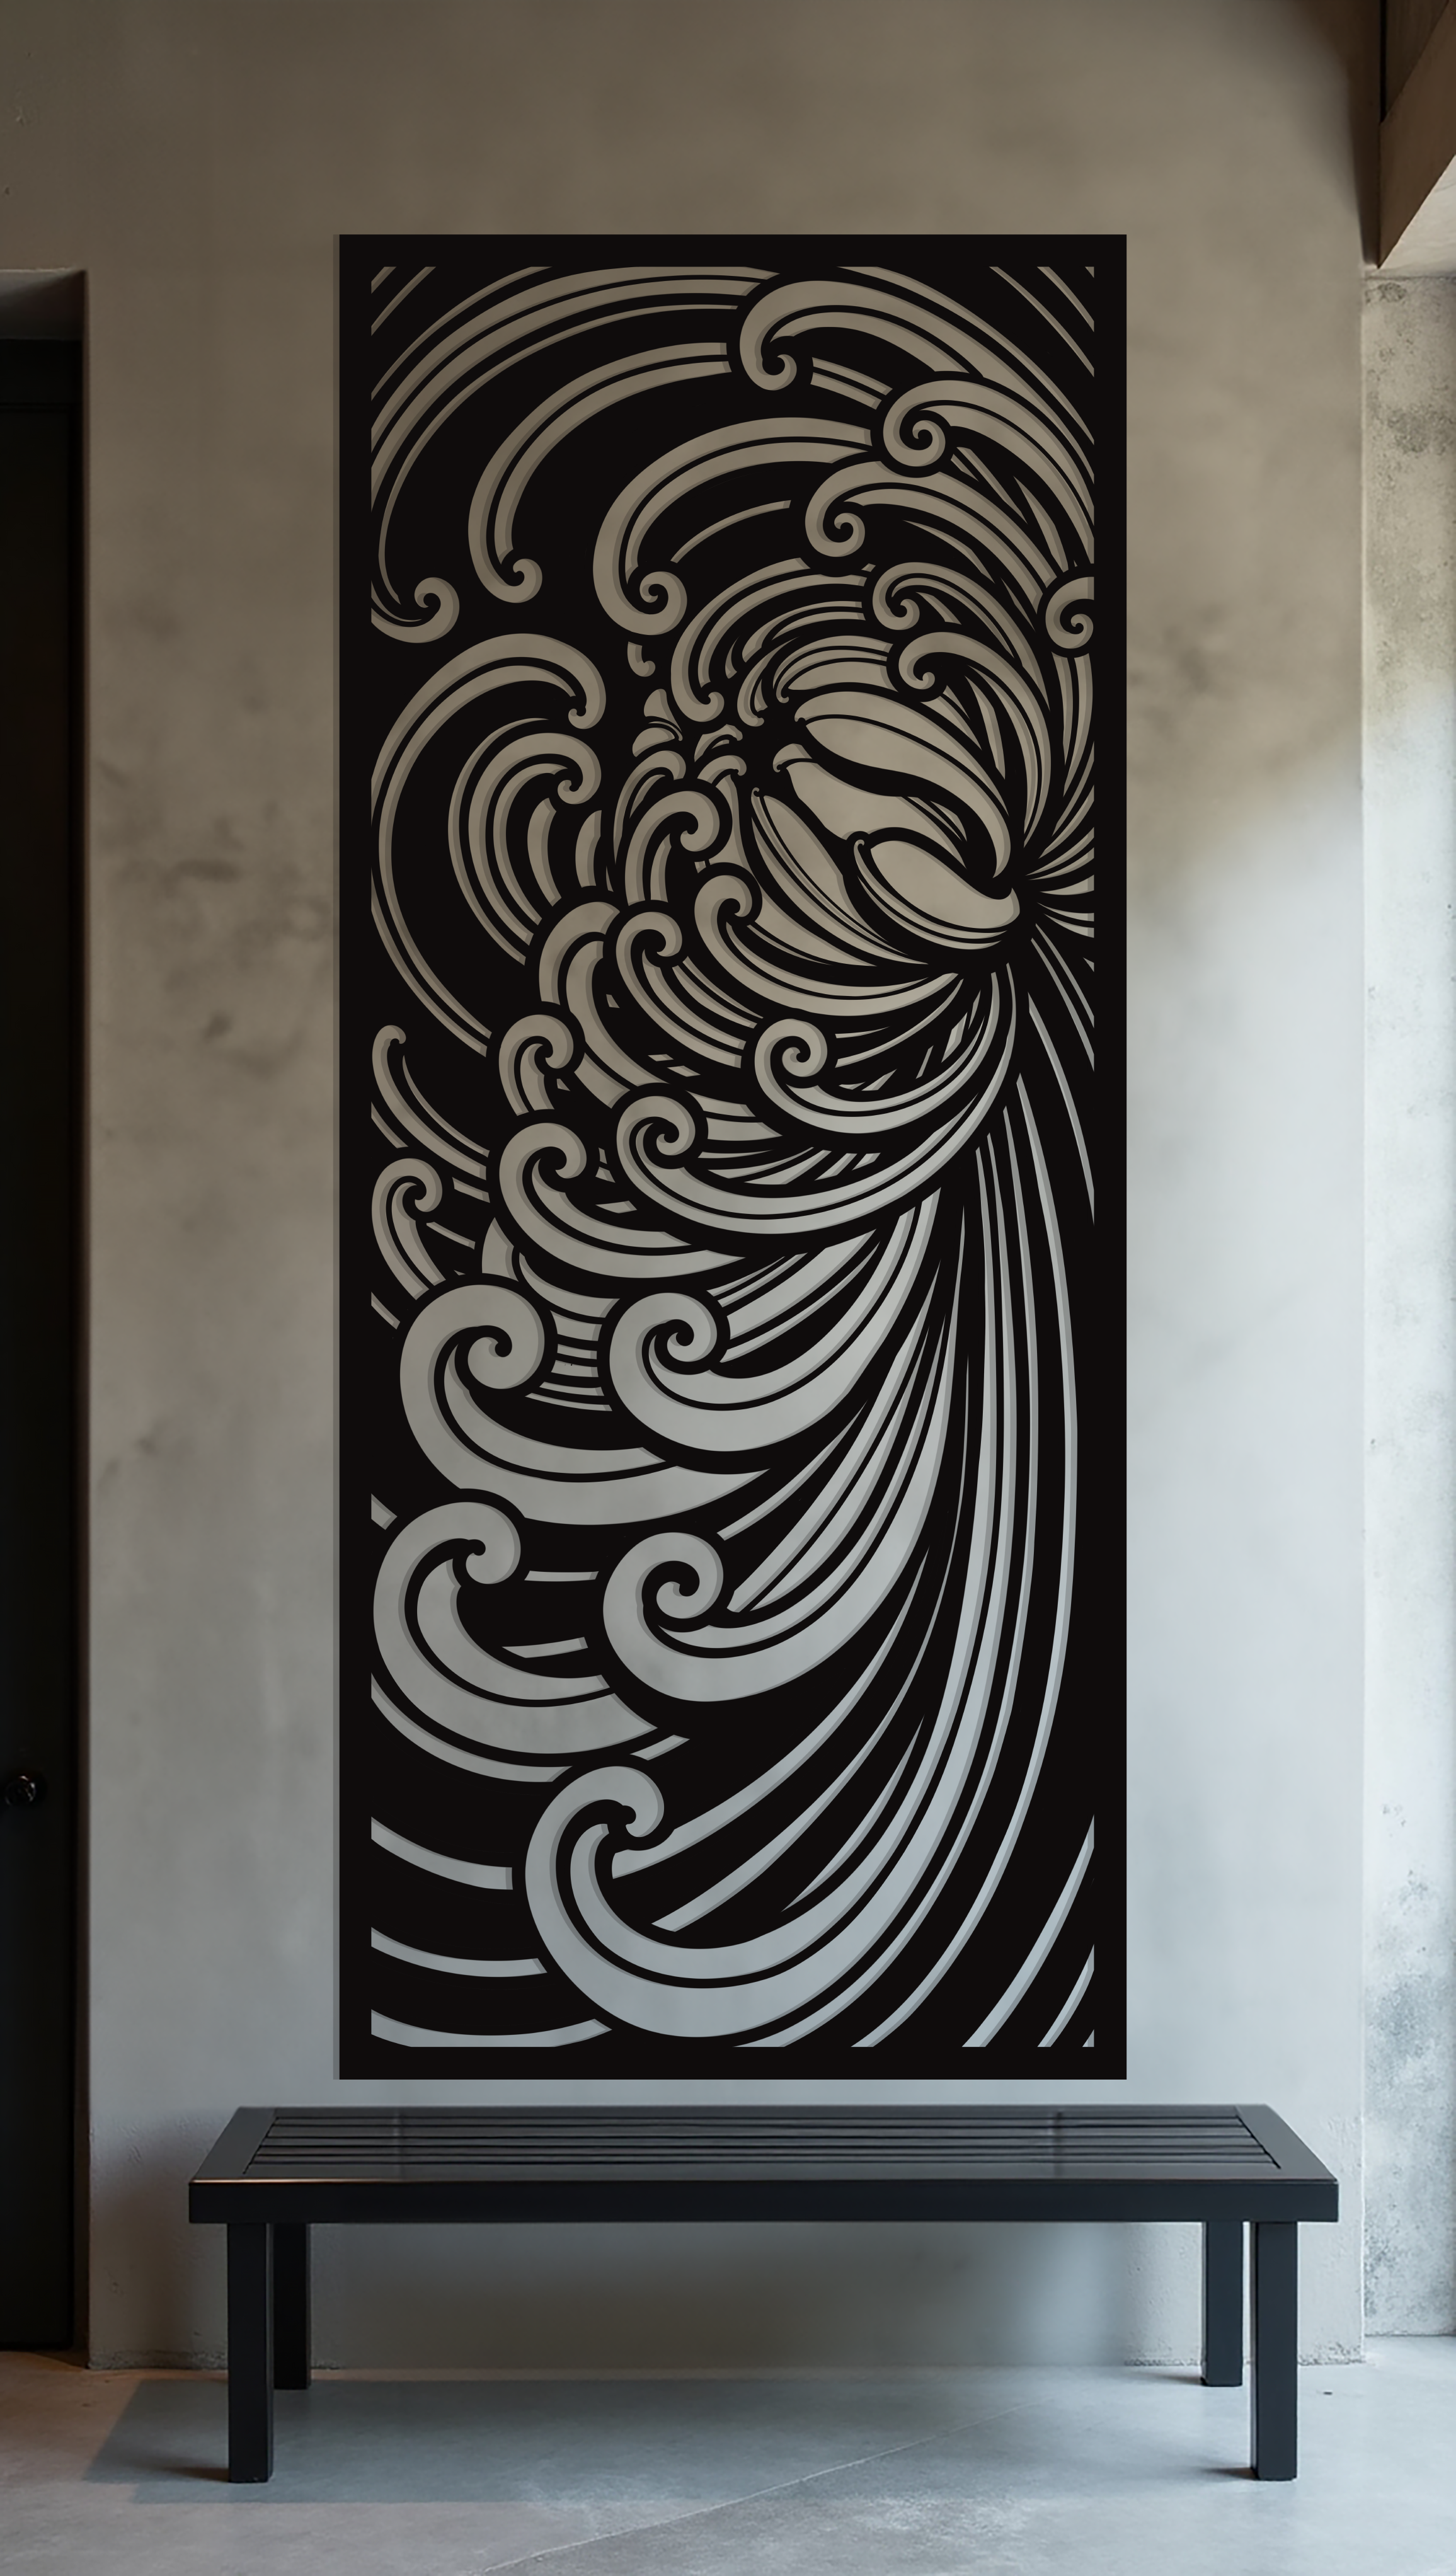
INSTALLATION
Ensure your Vanta panels are securely installed and beautifully displayed by following these comprehensive instructions. The guide covers various mounting options, including mounting tape, flush screws, and spacers for different wall types.
Depending on your wall type and the panel size, you can use one of the following methods:
1. Mounting Tape – Best for lightweight panels on smooth surfaces.
2. Flush Screws – Ideal for secure, permanent installations on plaster, timber, or concrete.
3. Spacers – Perfect for creating a floating effect while ensuring stability.
1. Mounting Tape (For Lightweight Panels Only)
Recommended For:
• Small panels (under 5 kg)
• Smooth, clean indoor surfaces (painted walls, glass, metal)
Materials Needed:
• High-strength double-sided mounting tape (weight-rated)
• Rubbing alcohol and a clean cloth
Installation Steps:
1. Clean the Surface:
• Wipe both the panel’s back and the wall with rubbing alcohol to remove dust and oils.
2. Apply the Tape:
• Cut strips of mounting tape and apply evenly across the back of the panel, especially along edges and corners.
3. Position and Press:
• Carefully position the panel. Once aligned, press firmly for at least 30 seconds to ensure adhesion.
Important Tips:
• Not suitable for textured or porous walls.
• Avoid using tape for outdoor installations or heavy panels.
2. Flush Screws (For Plaster, Timber, and Concrete Walls)
Recommended For:
• Medium to large panels (over 5 kg)
• Permanent installations
Materials Needed:
• Drill with appropriate drill bits
• Wall anchors (for plaster or concrete)
• Wood screws (for timber walls)
• Level, pencil, and measuring tape
• Stud finder (for plaster walls)
Installation Steps by Wall Type:
Plaster Walls:
1. Use a stud finder to locate wall studs.
2. If no studs are available at mounting points, use wall anchors.
3. Drill holes at marked points.
4. Insert anchors and drive in screws, leaving a small head gap to hang the panel flush.
Timber Walls:
1. Mark mounting points with a pencil.
2. Drill pilot holes directly into the timber.
3. Insert screws, ensuring they’re flush with the wall surface.
Concrete Walls:
1. Use a masonry drill bit to make holes at marked points.
2. Insert masonry wall plugs or anchors.
3. Drive screws into the plugs, ensuring a snug fit.
3. Using Spacers (For Floating Effect)
Recommended For:
• Panels intended to have a 10–50 mm gap from the wall
• Creating shadow effects and depth
Materials Needed:
• Spacers (size based on desired gap)
• Screws and anchors (as per wall type)
• Drill, level, and measuring tape
Installation Steps:
1. Place spacers on the mounting points behind the panel.
2. Hold the panel in place with assistance or temporary supports.
3. Drill through the panel’s mounting holes into the wall, ensuring spacers remain aligned.
4. Secure with screws through the panel and spacers into the wall anchors or studs.
Important Notes
• Panels over 20 kg require a minimum of four mounting points for stability.
• Use corrosion-resistant hardware for outdoor installations.
• Always double-check with a level to ensure proper alignment.
• Panels above 2800 mm should be installed by a professional installer.
Care After Installation:
• Clean gently with a soft, dry cloth; avoid abrasives or chemicals.
• Check mounting points periodically to ensure stability.
Need Assistance?
If you need further guidance or help choosing the best mounting option, reach out to us at hello@houseofvanta.com.
